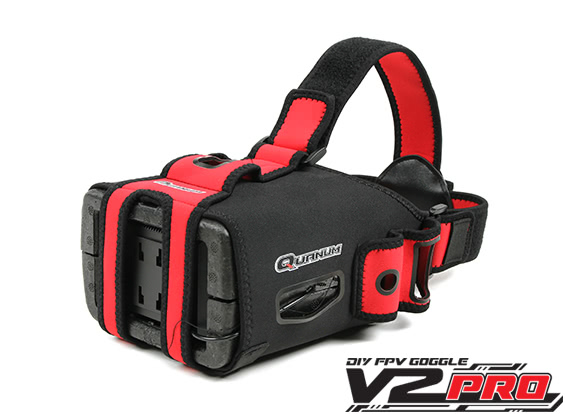
This is a build guide and review of the HobbyKing Quanum V2 Pro Goggles.
Here they are assembled with my DYS X160:


Summary
Overall, these goggles offer great performance at a great price. They are light, easy to assemble and should work fine with glasses. If you're looking for a first (or second or third) pair of goggles, this is a great option.
As for the display, I like the single monitor style a bit better than the two monitor goggles (like Fatsharks) since the single monitor gives a more immersive experience. It feels more like like you're "in" the display instead of the Fatsharks, which feel like you're looking at a display in the distance.
That said, the 800x480 resolution is good (this is the same resolution as the Fatshark Dominator V3), but is not as high as Headplay-Type Goggles. Note though, that with a 700tvl fpv camera, the horizontal resolution is about 933px, so you're not losing much clarity at all.
The build process affords some flexibility, but it could be a downside if you're not into some simple DIYing. If head-comfort is important, you can customize the shape of the goggles to fit your face. I probably should have added some extra padding around the cheeks, since everyone who tried on my pair of Quanums complained about a squashed nose. Other than that, they loved these goggles for the light weight and monitor clarity. The only other downside is the size. It's great for when you're using them, but it's far less convenient for transportation. They need a big case, mine travel in that giant tub pictured above.
The Quanum receiver I used is awesome. The sensitivity is great and the OLED display is very clear, so it's easy find the right channel, and once you're on it, the signal is locked in. Compared to some other goggles I have including the Eachine VR-007 Goggles and my Vuxiz iWear AV230-based DIY goggles with a Boscam RC805 receiver, the range and image quality on the Quanum receiver is noticeably better.
Parts
Here are the parts I used in the build:

If you're looking for a diversity receiver, the Quanum RC540R 5.8GHz 40CH Race Band FPV Diversity Receiver is a great choice, albeit a bit more expensive than the Auto Scan receiver listed above.
Total Cost: $68
Unboxing
Ooh, a box.

The neoprene sleeve.

It comes with 3 different lenses of different magnification, some padding to change the shape of the goggles where they meet your face and an adaptor for your phone, if you want to use that instead of the monitor.

I'm no foam expert, but the goggle case is made out of EPO. I think? Either way, it's more than durable enough for your face, unless you're into FPV boxing or something cool like that.

Lots of cables.

The 5" 800x480 monitor.

Ok, let's build!

Build
Install the foam bumpers. I used hot glue.


Remove the screen protector from monitor and insert it into the lower piece.

Assemble the lens by inserting the glass into the plastic frame. I went with the 1x lens, but I think I may change that to a more powerful lens, so the screen looks bigger.

The flat part should go down so it ends up like this.

Install the handles on the lens and place the lens in the goggle base.

The curved part points towards the screen.

Use some clear packing tape to secure the top and bottom. You could glue these, but that would make it hard to change the lens.

Use the included strips of neoprene and the foam with one sticky side to pad the goggles where they'll meet your face. I should have put extra neoprene around the cheek area so my nose is less squashed... but you know now :)
The idea is to glue layers of neoprene where you want the goggles to contact your face. Try to test fit the goggles with just the neoprene layers, when it fits well, then apply the sticky-sided foam.

Finally, install the receiver in the pocket and route the cables through the loops on the bottom:

I put my battery on the opposite side and route the cable under.
Here they are in action! My cousin is checkin' em out:

